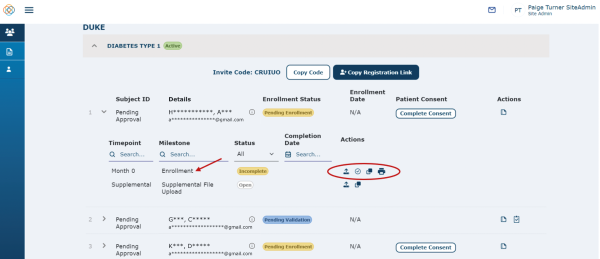
If you click on the ‘Down Arrow’, to the left of the study, it will expand the study site and display the patients within that study. Notice that 3 patients have expressed interest in the study shown below.

Once a patient has expressed interest in the study, you will see a ‘Pending Enrollment’ status next to their name in the Patient Management screen. Patients are not assigned a Subject ID until they have been approved for enrollment in the study. Once they are enrolled in the study, Site Admins will see the participants Subject ID in the left column.
The enrollment milestone has the following actions that can be taken. Please refer to the below sections for more information on each action.
- Upload Artifacts
- Mark as Complete
- View Artifacts
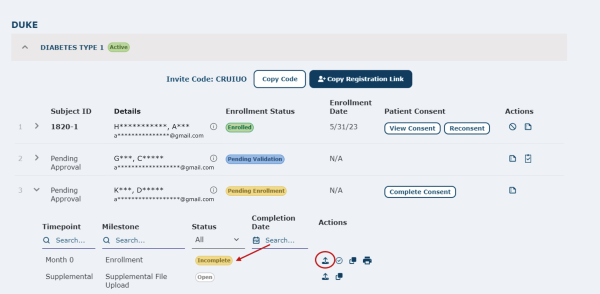
You can expand the patient information by clicking on the arrow on the left side of the patient Subject ID. Here you can see the milestones currently available to the patient and site admin at this time and each milestone's status. Notice on the enrollment milestone below, that the Status is ‘Incomplete'. At this point, the patient has not completed the consent document yet, therefore, enrollment is incomplete.

Pending Enrollment Actions That May Be Needed from Site Admin
In order for the Enrollment Milestone to be completed, one of the three paths can be taken. These are described in more detail through this document.
- Patient completes consent form on their device through the Patient Engagement Platform (or mobile app). This will be the path a majority of the time, ideally.
- However, if a patient needs assistance completing the consent form, the Site Admins can click on the 'Complete Consent' button to pull up the digital consent form for that individual patient and allow the patient to complete the document.
- If the patient is not comfortable with a digital consent, Site Admins can use the paper IRB-approved version of the consent document, and then scan/upload the paper consent to the Enrollment milestone
Completing Consent on a Site Device with a Patient
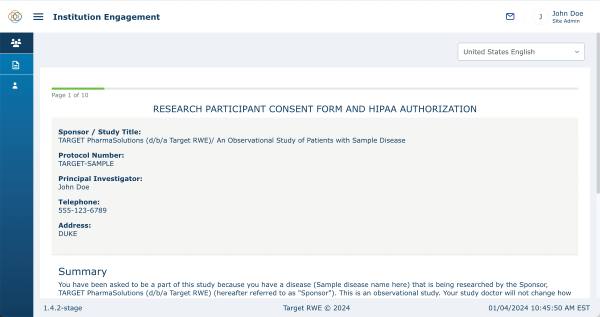
To assist a patient in completing a digital consent on your site device, click on the ‘Complete Consent’ button under the Patient Consent column or expand the dropdown for the patient and click on the ‘Mark as Complete' action button next to the Enrollment milestone. These buttons will both bring up that patient’s digital consent form for the study.

Note that this is a sample consent document and that the consent document you see will differ.
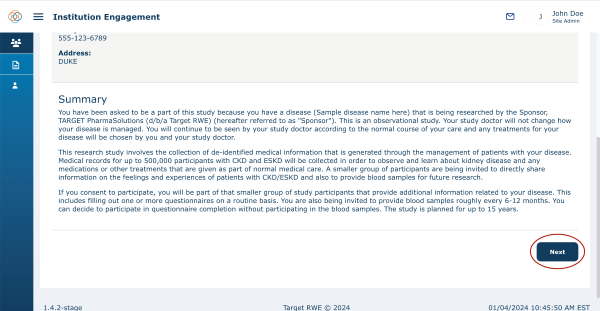
Review all of the information on the page with the patient in order to clarify any questions they may have and to make sure they understand fully what they are consenting to. Continue through the rest of the consent by clicking on the ‘Next’ buttons on the bottom right corner of the screen.
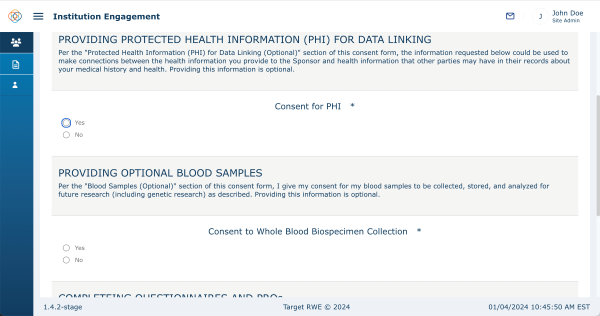
There will be sections in the consent that require the patient to make selections. In some cases, if they select yes, more fields will appear. At any time during the consent process, the patient can press the ‘Previous’ button (located at the bottom left corner of the screen) to navigate back to the previous page.
On the last page of the consent document, the patient will digitally sign the document on the signature pad and type in their name in the text box provided below the signature pad. To clear the signature pad and re-sign, press the 'x' button.
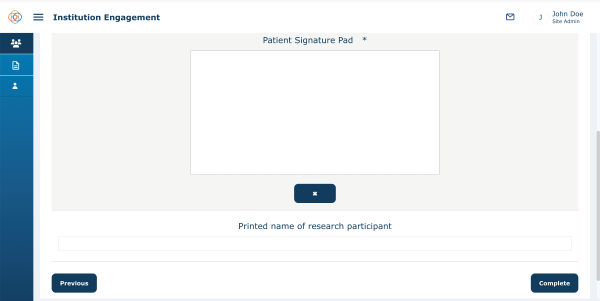
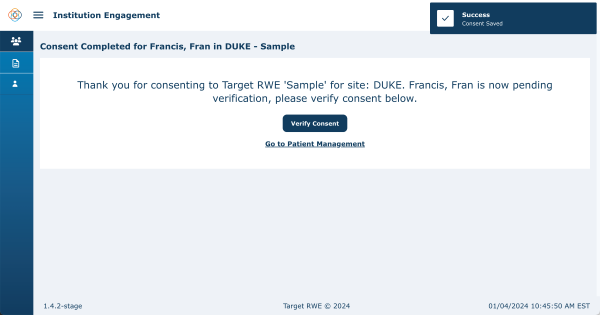
Once the patient has completed the consent, have them click on the ‘Complete’ button on the bottom right corner. You will see a 'Success Consent Saved' message at the top right corner of the screen. The next step is to have the patient verify their consent. The patient will get a validation code sent to the email their Engage account is registered to.
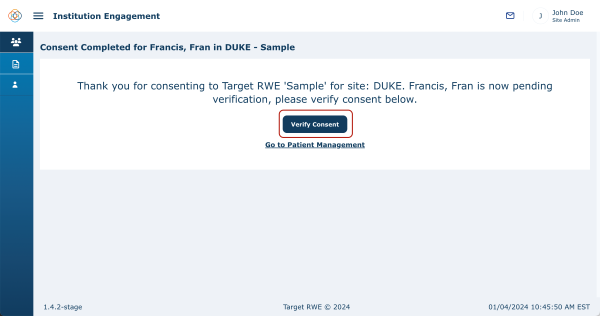
Click on the Verify Consent button to input the code.
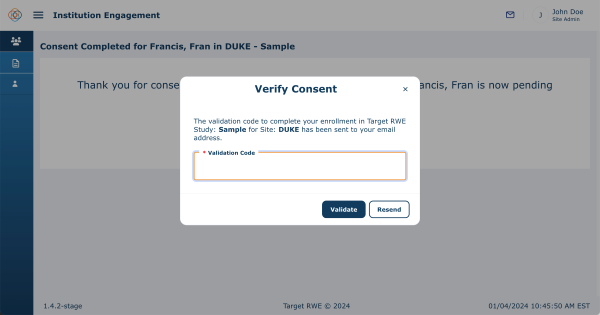
Enter the code and click Validate. The patient will now be in a 'Pending Approval' status.

Alternatively, if the patient does not have access to their validation code at this time, they can verify their consent at a later time in the Patient Engagement app on their own device. If this is the case, click on ‘Go to Patient Management’ and you will see that the patient has a Pending validation status.

If you verify the consent and the patient is in a ‘Pending Approval' status, you will still need to review the consent and approve or deny the patient’s enrollment.
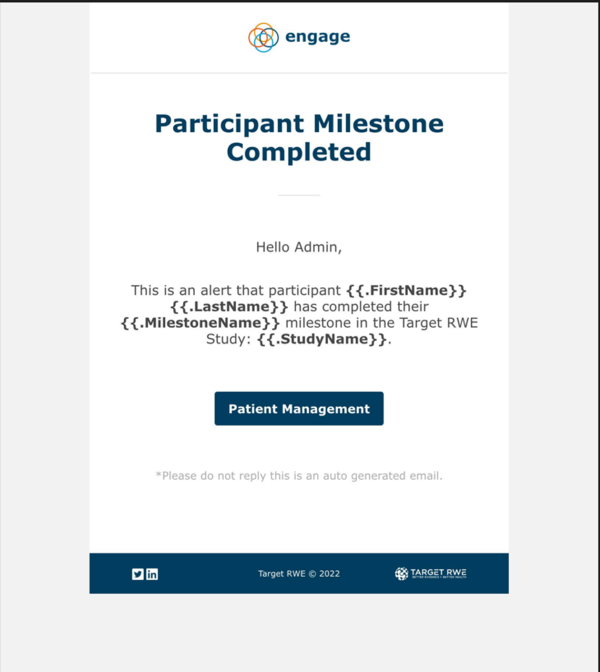
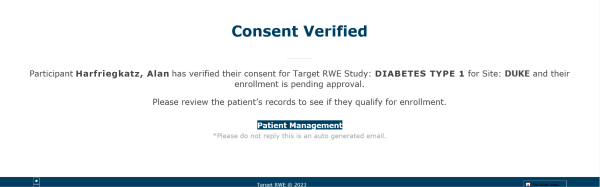
Once the Patient has completed the consent document, the Site Admin will receive emails that the ‘Participant Milestone Completed’ and that the patient has a Pending Approval status.
The Site Admin will also receive an email stating ‘Patient Consent Verified’.
Uploading IRB Approved Consent Document with a Patient
If patients have competed a paper consent and met the study criteria and can be enrolled in the study, make sure to upload the artifact to that enrollment milestone as soon as possible so it does not appear as an outstanding task for the patient on their side of the app. The patient could be getting reminders until that milestone is marked as complete, so it is up to the Site Admins to upload it in a timely manner. Uploading an artifact to the enrollment milestone will change the patient’s status to ‘Enrolled.’
To upload a patient completed paper IRB approved consent document, click on the ‘Upload Artifact’ icon next to the Enrollment milestone for that patient.
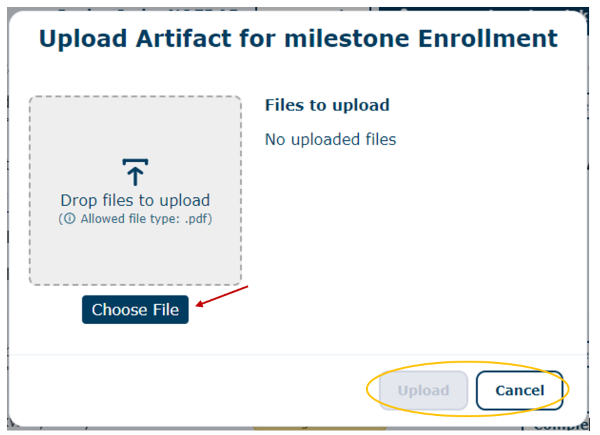
You will then be navigated to a message box where you will need to input Activity Date, Artifact Type, Comment and then Choose a File to Upload. Notice that all these fields are required fields denoted with an asterisk.
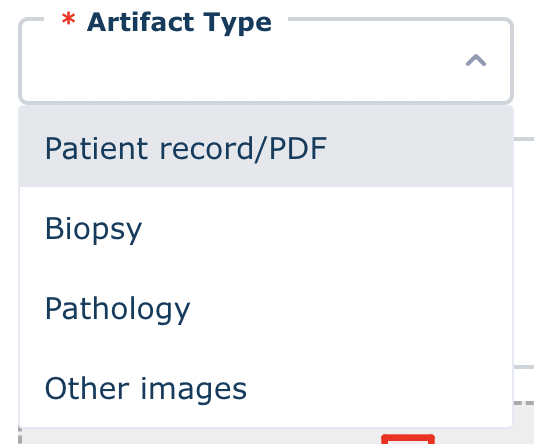
Once you have completed entering the information and have chosen a file, press ‘Done’ to upload artifacts or ‘Cancel’ to cancel your artifact upload. Notice that the only allowed file type for uploads are PDF files.
Watch a tutorial video on pending enrollment status: